> ## Documentation Index
> Fetch the complete documentation index at: https://docs.nebuly.com/llms.txt
> Use this file to discover all available pages before exploring further.
# Filters & time range
> Navigate conversational datasets with global and local filters/time ranges.
# Filters
**Nebuly's filters** let you narrow down conversational datasets to focus on the users, conversations, and interactions that matter most to your analysis.
You can segment data using any available field, including automatically extracted insights such as topics, intents, sentiment, as well as custom tags, user groups, and more.
## Global vs local filters
There are two levels of filtering in Nebuly:
### **Global filters**
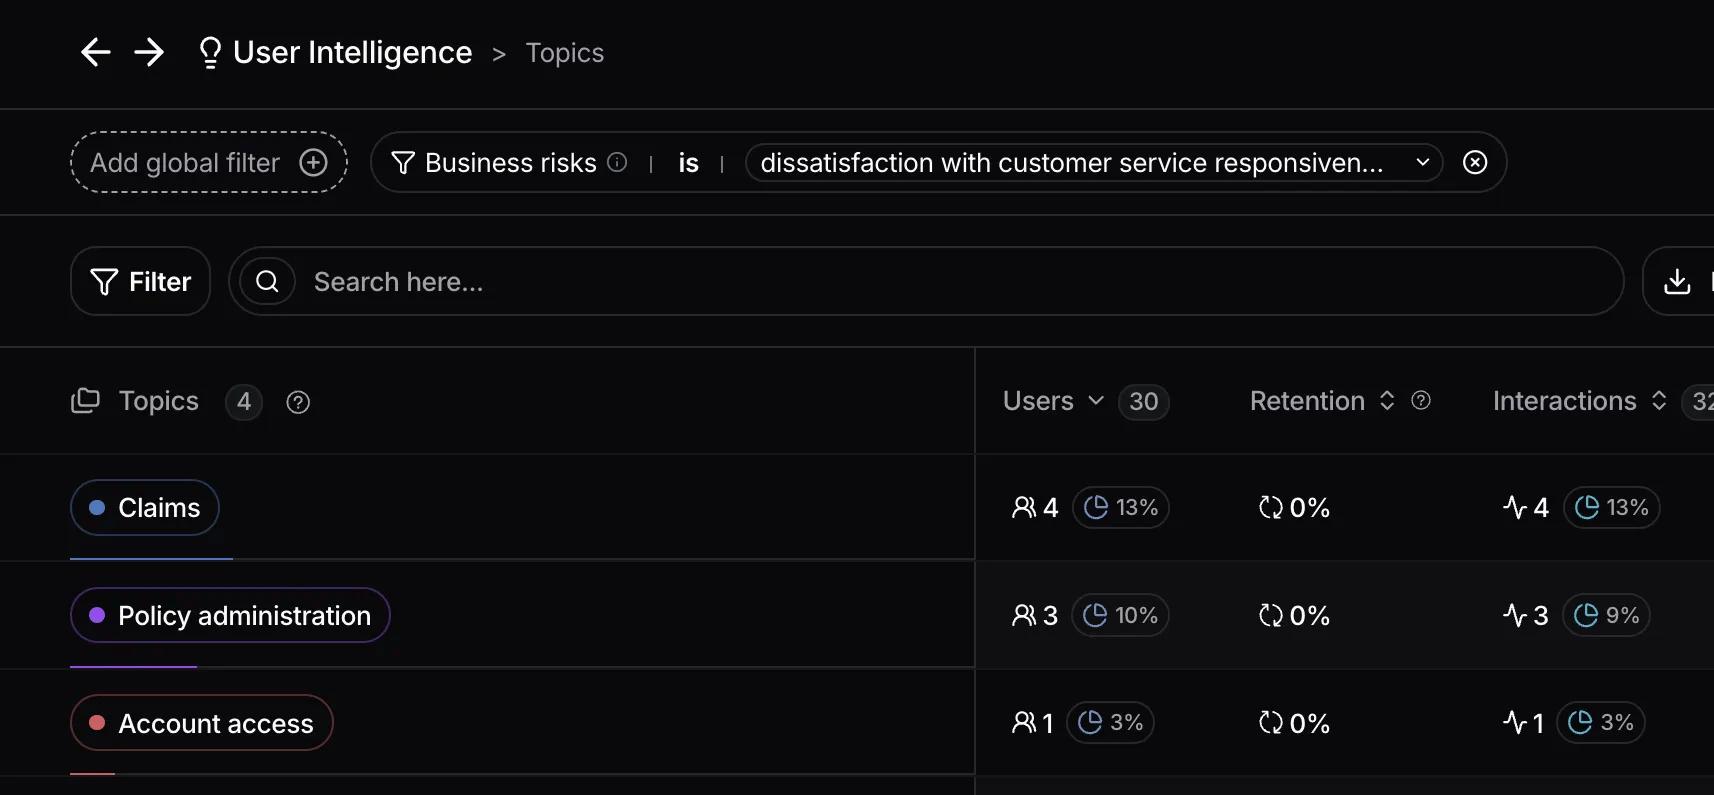
They live in the top bar and apply across the whole platform. They stay active as you move between reports, so every view reflects the same selection until you change it. This is the right level when you are investigating one segment across reports and Live Data at the same time.
To open the Global filters panel, click the **Global filters** button in the top bar. From there, you can build one or more filter conditions.
Once you've created a **global filter**, you can use it to create a **sub-project**. The filter is automatically applied across every view in that sub-project, giving users access only to the data that is relevant to them.
For example, you could create a global filter for a specific country and use it to create a dedicated sub-project. Anyone with access to that sub-project will see only data for that country across reports, conversations, interactions, and other views.
This is useful when different teams or members should work with a specific subset of your data, without changing the experience of the main project.
Learn more about it [here](/guides/platform/org-projects).
 ### **Local filters**
They apply to a single chart or report only. Use them when you want to narrow one chart or table without changing what you see everywhere else.
### **Local filters**
They apply to a single chart or report only. Use them when you want to narrow one chart or table without changing what you see everywhere else.
 ## How Filters Work
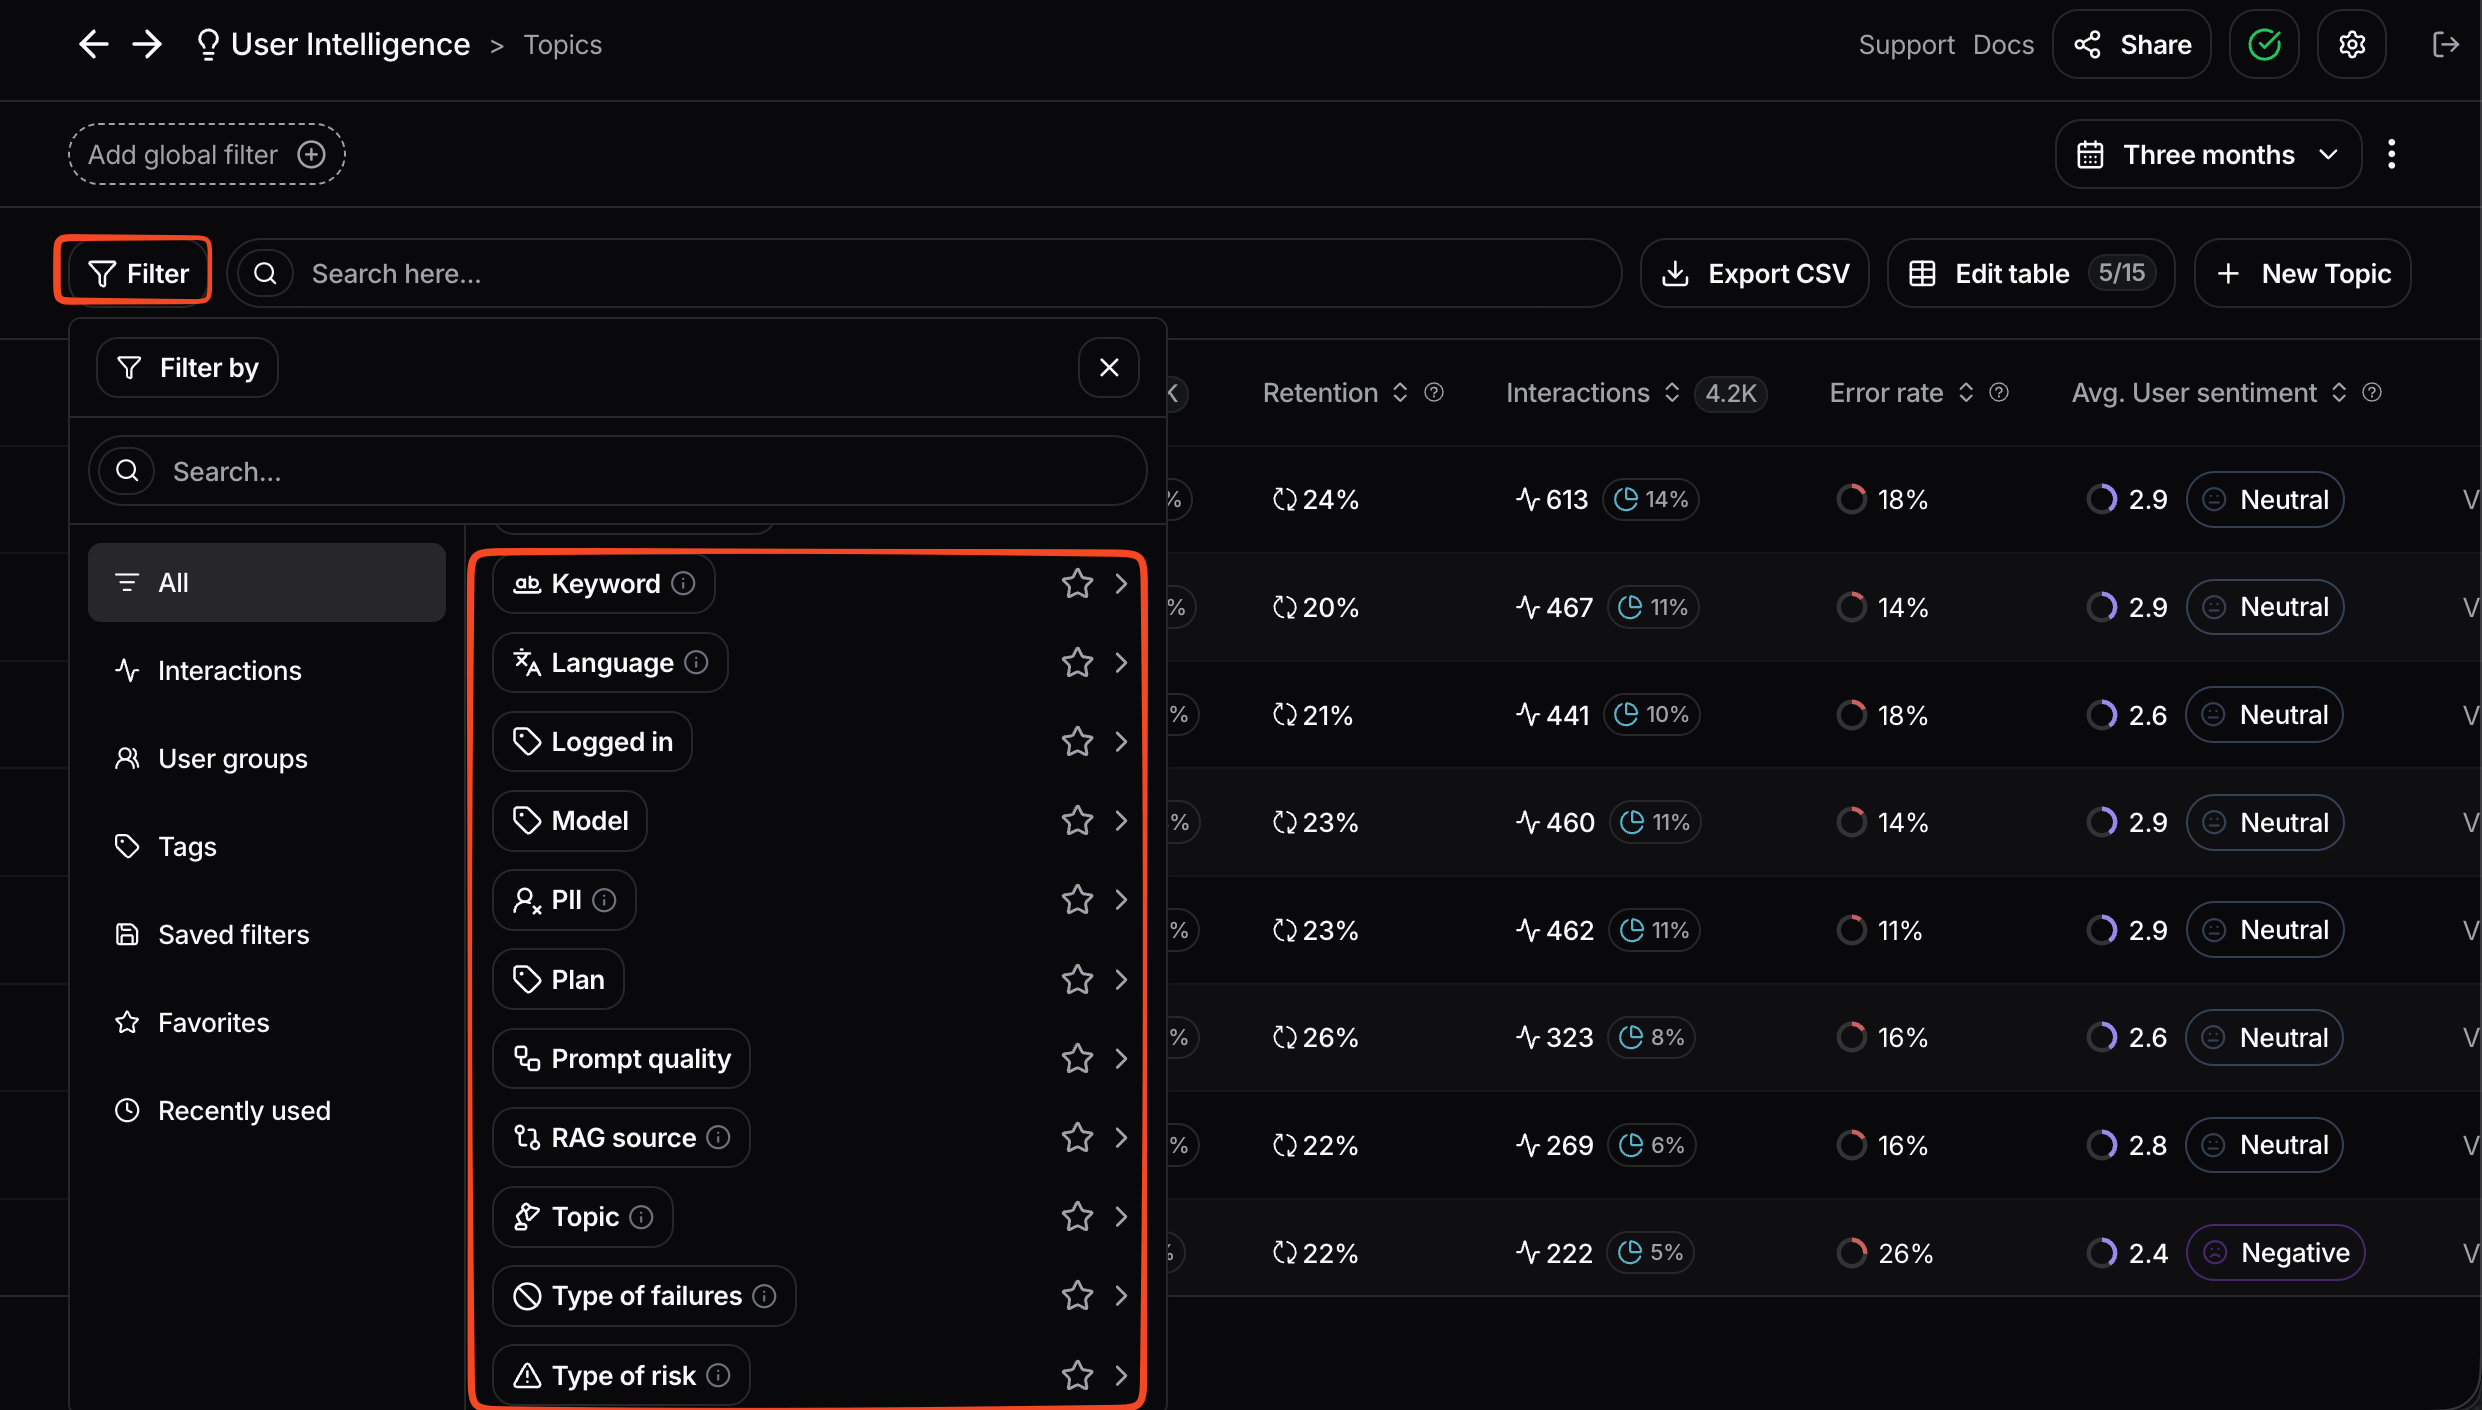
All views in Nebuly can be filtered by **any** attribute on an interaction or conversation. This includes built-in fields (topics, intents, sentiment, error type, business risks, user feedback) and every custom tag you sent at ingestion.
Nebuly supports **100+ filter options**. Common examples include **Topic** (the main theme of the interaction), **Action** (the task the user is trying to do), **Sentiment**, **Language**, **User** (a specific user ID), and any custom **tag** you sent at ingestion.
## How Filters Work
All views in Nebuly can be filtered by **any** attribute on an interaction or conversation. This includes built-in fields (topics, intents, sentiment, error type, business risks, user feedback) and every custom tag you sent at ingestion.
Nebuly supports **100+ filter options**. Common examples include **Topic** (the main theme of the interaction), **Action** (the task the user is trying to do), **Sentiment**, **Language**, **User** (a specific user ID), and any custom **tag** you sent at ingestion.
 ## Saved Filters
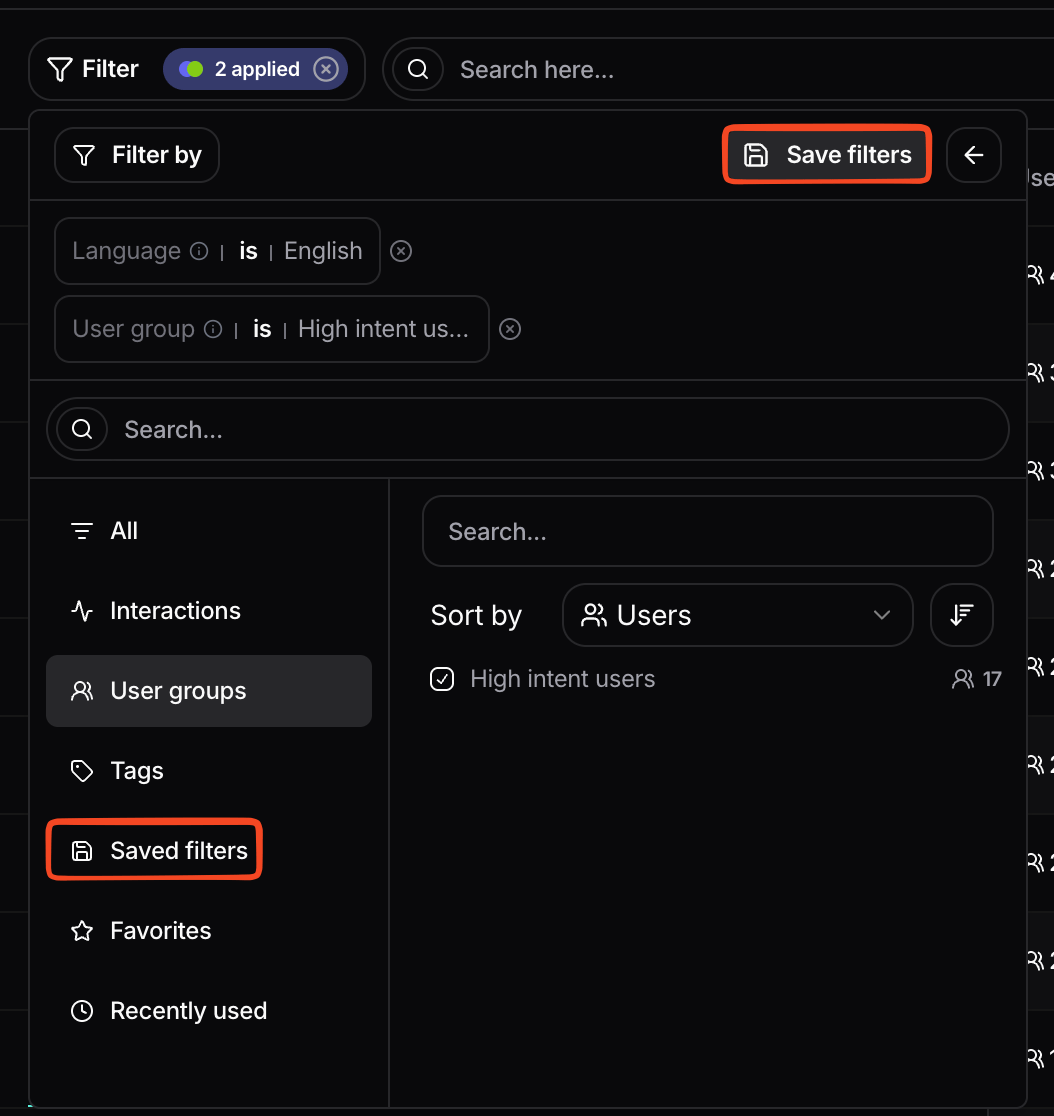
Often-used combinations of filters can be saved for reuse across future sessions.
To save a combination, click **Save filters** in the filter selection panel and give the saved filter a descriptive name. You can then apply the saved filter at any time from the **Saved filters** section of the filter selection panel.
The Saved filters list is **shared across all users in the project**, which makes it a lightweight way to standardize how your team slices data.
## Favorites
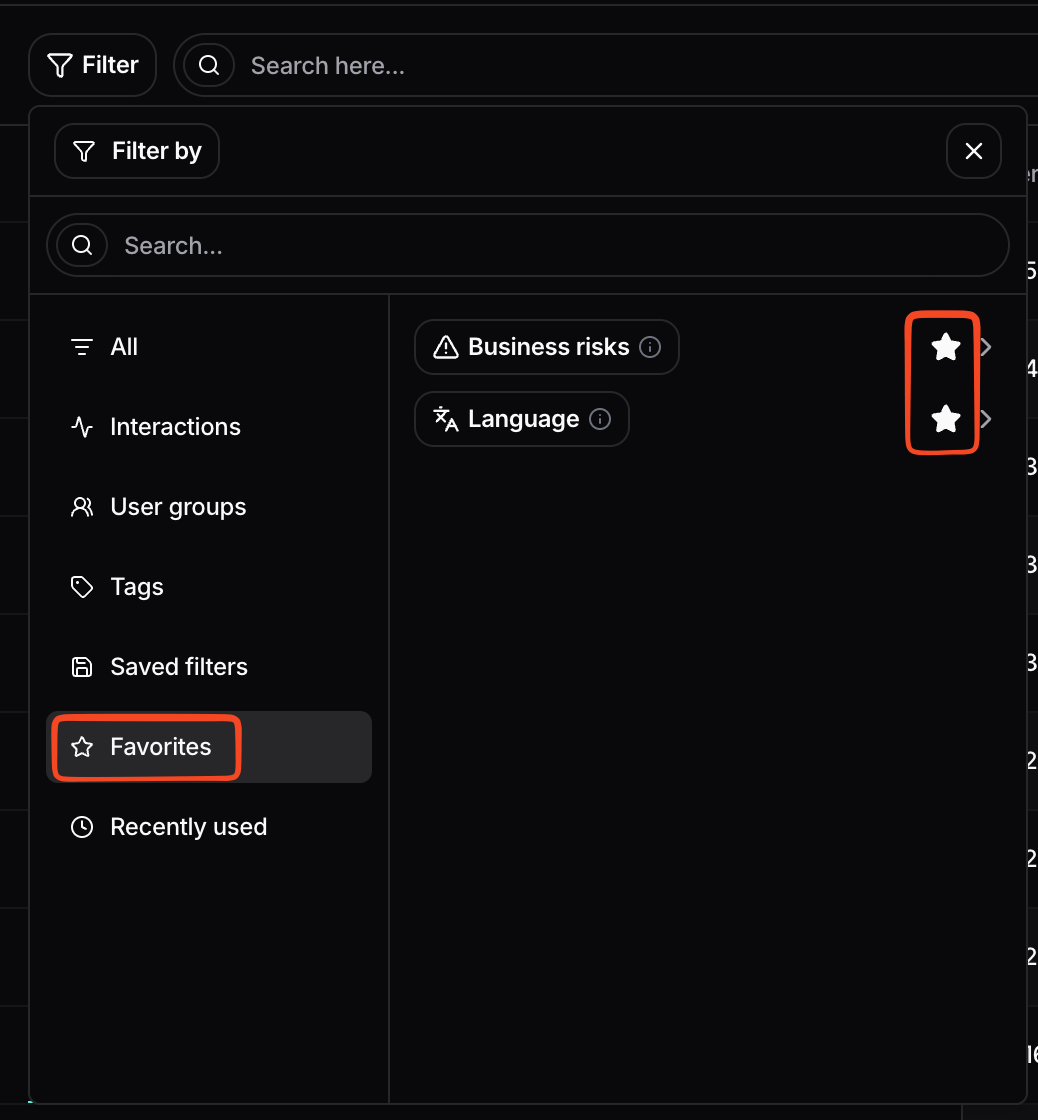
To make your most-used filtering fields easier to find, mark them as favorites by clicking the star next to a field. Your starred fields then appear at the top of the filter selection panel under **Favorites**.
This list is **individual to each user**: each teammate maintains their own favorites without affecting anyone else.
# Time range
The **time range selector** controls the period included in your analysis. It is available throughout the platform and can be applied to:
* **Reports & Exploration mode**, where it updates the metrics and charts displayed in the report.
* **Interactions**, where it limits the table to interactions captured during the selected period.
* **Conversations**, where it limits the table to conversations within the selected period.
You can choose from predefined ranges such as **Today**, **Yesterday**, **7D**, **30D**, **3M**, **6M**, and **12M**, or select a custom date range.
The selected time range remains active as you navigate between supported views, allowing you to analyze the same period consistently across Reports and Live Data.
## Saved Filters
Often-used combinations of filters can be saved for reuse across future sessions.
To save a combination, click **Save filters** in the filter selection panel and give the saved filter a descriptive name. You can then apply the saved filter at any time from the **Saved filters** section of the filter selection panel.
The Saved filters list is **shared across all users in the project**, which makes it a lightweight way to standardize how your team slices data.
## Favorites
To make your most-used filtering fields easier to find, mark them as favorites by clicking the star next to a field. Your starred fields then appear at the top of the filter selection panel under **Favorites**.
This list is **individual to each user**: each teammate maintains their own favorites without affecting anyone else.
# Time range
The **time range selector** controls the period included in your analysis. It is available throughout the platform and can be applied to:
* **Reports & Exploration mode**, where it updates the metrics and charts displayed in the report.
* **Interactions**, where it limits the table to interactions captured during the selected period.
* **Conversations**, where it limits the table to conversations within the selected period.
You can choose from predefined ranges such as **Today**, **Yesterday**, **7D**, **30D**, **3M**, **6M**, and **12M**, or select a custom date range.
The selected time range remains active as you navigate between supported views, allowing you to analyze the same period consistently across Reports and Live Data.